Was ist 3D-Reliefschnitzen?
Wenn die meisten Leute an CNC-Fräsen denken, stellen sie sich flach geschnittene Schilder oder einfache 2D-Profile vor. Doch mit den richtigen Werkzeugen und Arbeitsabläufen kann Ihre CNC-Fräse zu einem digitalen Meißel werden – fähig, wunderschöne 3D-Reliefs aus Holz, Schaumstoff oder sogar Kunststoffen zu schnitzen.
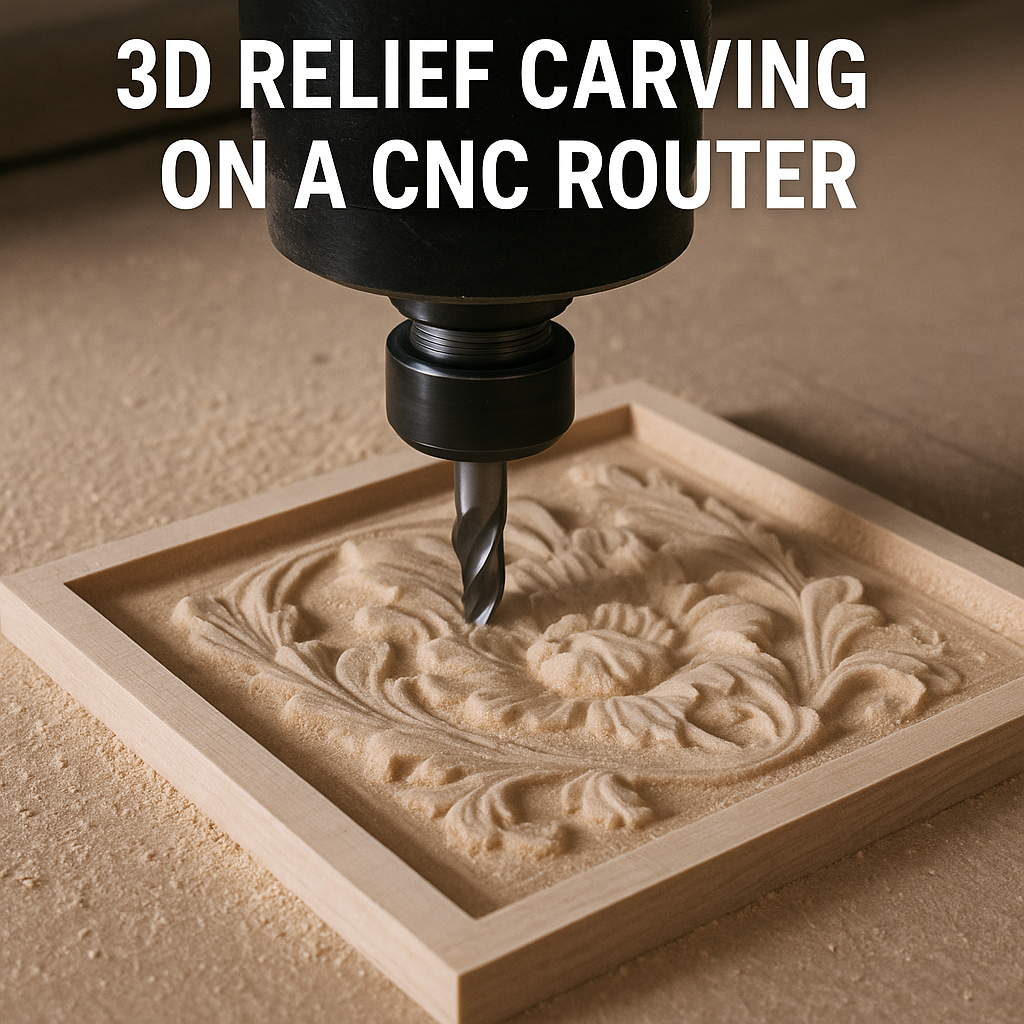
3D-Reliefschnitzen bezieht sich auf eine Technik, bei der die CNC-Maschine ein erhabenes oder vertieftes Bild auf einer ebenen Fläche erzeugt. Anders als vollständige 3D-Objekte (wie Statuen) sind Reliefs auf einer Grundplatte montiert, ähnlich wie Kunstwerke, die in alte Kathedralwände oder auf Münzen geschnitzt wurden.
CNC-Reliefschnitzereien verleihen einem Projekt Textur, Tiefe und visuelles Interesse. Von Tier- und Porträtszenen bis hin zu dekorativen Paneelen und topografischen Karten eröffnen 3D-Schnitz-CNC-Projekte künstlerische Möglichkeiten, die 2D-Fräsen nicht bieten können.
Beste Materialien für das 3D-Schnitzen
Nicht alle Materialien reagieren auf die gleiche Weise auf das 3D-CNC-Schnitzen. Da der Prozess lange Laufzeiten, feine Details und unterschiedliche Tiefen umfasst, kann die Wahl des richtigen Materials Ihr Projekt zum Erfolg oder Misserfolg führen.
Top-Materialauswahl für das Reliefschnitzen
Hartholz (Ahorn, Kirsche, Walnuss)
- Vorteile: Hält präzise Details, lässt sich schön polieren, hochwertiges Aussehen
- Nachteile: Teurer, langsamer zu bearbeiten
- Am besten geeignet für: Kunstpaneele, Porträts, Erbstücke
Weichholz (Kiefer, Zeder)
- Vorteile: Günstig, schneller zu schneiden, weit verbreitet
- Nachteile: Kann bei feinen Durchgängen ausreißen; weniger haltbar
- Am besten geeignet für: Prototypen, rustikale Designs
MDF
- Vorteile: Extrem gleichmäßig, leicht zu schnitzen, kostengünstig
- Nachteile: Erzeugt feinen Staub, erfordert Versiegelung, fehlt Maserungscharakter
- Am besten geeignet für: Bemalte Schnitzereien, CNC-Tests, Übungsmodelle
HDU-Schaum (Schilderschaum)
- Vorteile: Sehr schnell zu schneiden, keine Maserung, ideal für große Schnitzereien
- Nachteile: Benötigt Farbe, um gut auszusehen, weniger haltbar
- Am besten geeignet für: Außenschilder, große dekorative Paneele
Software zur Erstellung von 3D-Modellen
Das Erstellen von 3D-Schnitzereien erfordert mehr als nur die G-Code-Generierung – es beginnt mit der Erstellung oder Beschaffung einer geeigneten 3D-Modelldatei. Sie müssen kein Bildhauer sein, um anzufangen; verschiedene zugängliche Arbeitsabläufe können Sie schnell zum Schnitzen bringen.
Häufige 3D-Dateitypen für das Reliefschnitzen
- STL (Stereolithographie): Das gängigste Format für das Reliefschnitzen.
- OBJ: Beliebt in der 3D-Modellierung; kompatibel mit vielen CAM-Tools.
- Höhenkarten (Graustufenbilder): Nützlich für Gelände- oder topografische Karten.
Empfohlene Software für das CNC-3D-Design
Carveco Maker / Maker+
Ideal für Reliefschnitz-Workflows. Importieren, Bearbeiten und Generieren von Werkzeugwegen aus STL- oder Graustufen-Höhenkarten, mit erweiterten Basrelief-Tools.
Vectric Aspire
Beliebt bei Hobbyisten. Integrierte 3D-Modellierungs- und Relief-Erstellungstools; konvertiert 2D-Grafiken einfach in 3D-Features.
Fusion 360
Nicht ideal für künstlerische Reliefs, aber leistungsstark für mechanische 3D-Teile. Ideal für Hybridprojekte, die Kunst mit funktionalen Komponenten verbinden.
Blender + STL-zu-CAM-Software
Verwenden Sie Blender für die Modellierung und exportieren Sie dann in ein CAM-Tool wie MeshCAM oder Kiri:Moto für die Werkzeugwege. Steilere Lernkurve, aber leistungsstark und kostenlos.
Wo man fertige 3D-Reliefmodelle findet
- Design & Make: Großer Katalog dekorativer STL-Dateien für Aspire/Carveco.
- Thingiverse / Printables: Kostenlose 3D-Modelle; viele können für das Reliefschnitzen angepasst werden.
- TurboSquid / CGTrader: Stock-3D-Assets (einige kostenlos, einige kostenpflichtig).
Werkzeugwegstrategien für saubere Ergebnisse
Sobald Ihr Modell fertig ist, ist die Generierung der richtigen Werkzeugwege für saubere, präzise 3D-Schnitzereien unerlässlich.
Schruppdurchgang vs. Schlichtdurchgang
Schruppdurchgang: Entfernt schnell das Grobmaterial mit einem größeren Schaftfräser (z.B. 1/4" flach oder Kugelkopf). Lassen Sie einen kleinen Materialüberstand für den Schlichtdurchgang.
Schlichtdurchgang: Verwendet einen kleineren Fräser (z.B. 1/8" oder 1/16" Kugelkopf), um detaillierte Oberflächenkonturen mit langsameren Vorschüben und geringem Seitenversatz zu folgen.
Wichtige Tipps für sauberes Schnitzen
- Kugelkopffräser verwenden: Die runde Spitze erzeugt glatte Kurven und detaillierte Konturen.
- Seitenversatz einstellen: Für Detailarbeiten 8–12 % des Fräserdurchmessers anstreben.
- Z-Auflösung erhöhen: Kleinere vertikale Schrittweiten erfassen mehr vertikale Details.
- Vorschübe und Geschwindigkeiten abstimmen: Einstellungen an Fräsergröße und Materialhärte anpassen.
Werkzeugweg-Bereinigung
Verwenden Sie „Restmaterialbearbeitung“ mit einem sehr feinen Fräser, um kleine Merkmale zu erfassen, die vom Schlichtwerkzeug übersehen wurden. Ziehen Sie eine Z-Ebenen-Bearbeitung in Betracht, wenn Ihr Modell vertikale Wände oder flache Absätze enthält.
Fertigstellung und Montage Ihres Kunstwerks
Schleifen und Reinigen
Entfernen Sie Fusseln oder Fasern, die von Kugelkopf-Fräsern hinterlassen wurden, mit weichen Detailbürsten, Schleifschwämmen oder einem Rotationswerkzeug für enge Stellen. Vermeiden Sie das Abflachen empfindlicher Merkmale durch zu aggressives Schleifen.
Optionen für die Endbearbeitung
- Klarlack: Zeigen Sie die natürliche Maserung und Tiefe mit Schellack oder Polycryl.
- Beize + Klarlack: Fügt Kontrast und Stimmung hinzu; leicht zwischen den Schichten schleifen.
- Farbliche Akzente: Verwenden Sie Acrylfarbe, um wichtige Merkmale hervorzuheben.
- Hervorheben und Glasieren: Tragen Sie eine dunkle Glasur auf und wischen Sie sie zurück, um die Tiefe zu betonen.
Montage- und Präsentationsideen
- Wandmontage: Fügen Sie Sägezahnaufhänger oder French Cleats hinzu.
- Einrahmen: Schweberahmen oder Schattenfugenrahmen schaffen einen polierten Look.
- Hintergrundbeleuchtung: Erwägen Sie LEDs hinter durchscheinendem Harz oder dünnem Acryl für dramatische Effekte.
Abschließende Gedanken
Beim 3D-Schnitzen geht es nicht nur darum, anzugeben – es geht darum, die Möglichkeiten Ihrer CNC-Fräse zu erweitern. Ob Sie ein dekoratives Tierpanel, ein personalisiertes Porträt oder ein einzigartiges Firmenschild anfertigen, Reliefschnitzprojekte ermöglichen es Ihnen, dimensionale, texturierte Kunst zu schaffen, die eine Geschichte erzählt.
Obwohl der Arbeitsablauf auf den ersten Blick einschüchternd wirken mag – 3D-Modellierung, Werkzeugwegplanung und Feinarbeit – werden Sie, sobald Sie Ihre erste erfolgreiche Reliefschnitzerei abgeschlossen haben, begeistert sein. Es ist eine Fähigkeit, die künstlerische Vision mit technischer Präzision verbindet und sich in atemberaubenden Ergebnissen auszahlt.


