A laser-cut gift tag has two jobs: attach to the package and identify its recipient. Plan those jobs together. The opening must accommodate the actual threading method, while the cord, ribbon, knot, or bow must leave the name readable once the tag is attached.
Reserve the recipient’s name first, give the attachment its own space, and fit optional messages and decoration around both. For laser engraved Christmas gifts, the recipient identifier can be more useful than another seasonal motif: it lets the tag do its job while the gift is still wrapped.
Give the Name and the Tie Separate Space
A centered name can look balanced in a drawing yet disappear beneath a bow. An attachment hole may admit the ribbon while leaving too little room for it to turn, fold or settle on the face. Mark that occupied area in the composition as well as the opening itself. A small attachment zone at the top does not necessarily reserve enough room for the finished knot or bow.
The opening and the occupied tie area are different boundaries. One concerns what passes through the material; the other concerns what rests over the tag afterward.
Manufacturer projects reflect that distinction at the design stage. Trotec’s LaserPaper gift-tag project creates the outside shape, attachment hole, and personalized name as separate features. Its particular paper, dimensions, and CO₂ processing settings belong to that project—not to every wooden tag. Glowforge’s gift-tag tutorial likewise reserves space for text and adds separate recipient, donor, and occasion messages.
For a practical composition, make the recipient the clearest element. A donor name can be smaller or placed elsewhere, and a short message can remain secondary. Decoration should support identification rather than consume the last legible space.
Place a full-size paper mockup on the intended box or bag. Rotate it, try the actual ribbon arrangement, and see where it naturally rests. A tag hanging from a bag handle may tilt differently from one secured beneath a bow on a flat box. This is a composition check, not proof of material strength or machining suitability.
Design the Passage for the Actual Threading Method
“One hole for ribbon” is not a complete attachment specification. Passing a single cord end through an opening is different from pushing through a doubled loop or a folded ribbon.
A flexible ribbon also changes shape as it passes through the tag. Its folded width and combined thickness matter, not merely its width when laid flat. The opening must suit the intended method without requiring the recipient to force the tie through or damage the tag.
Consider a hypothetical rectangular wooden tag carrying “To Maya” and a smaller donor line. With slim cord, the tie may occupy only a small area near the attachment. Replace that cord with a folded ribbon and a bow, and both the passage requirement and the covered face area change.
The answer is not necessarily a larger hole. Lengthening an attachment end can create room without reducing the name. Moving the opening to a corner may free the center, but it changes where the tag hangs relative to the package. Choosing a slimmer tie may retain the compact outline, while a wider ribbon may justify a wider attachment zone. Compare those changes against the actual wrapped gift rather than enlarging the opening automatically.
Look at the Material Between the Hole and the Edge
Hole-center placement does not describe how much wood remains. The relevant material lies between the opening’s boundary and the outside profile. Enlarging a hole while leaving its center unchanged reduces that remaining material.
Decorative cuts can reduce it further. A small star, leaf, or flourish placed near the attachment may remove part of the connection that seemed generous in the plain outline. No universal edge clearance follows from the words “gift tag”; the actual material, opening, outline, and intended handling must be considered together.
Keep surface marks distinct from through-cuts. Engraving a motif adds visual information without creating the same void as cutting it out. An ornamental cutout removes face area and may interrupt the material supporting the attachment.
For the hypothetical ribbon-tied tag, a surface-engraved flourish may preserve the intended appearance while leaving a more continuous face. That is a design option, not a tested strength claim. If the outline must remain small, reducing an optional flourish or shortening the secondary message may be preferable to crowding every element.
Uniform scaling is particularly unhelpful here. Shrinking the tag, name, and hole together does not shrink the real ribbon or bow. It can undo attachment fit and legibility at the same time.
Treat the Selected Surface as Part of the Layout
Text occupies space, but its readability also depends on the finished surface and the actual engraved contrast. A font that looks clear against a white software canvas may read differently against a colored or patterned sheet.
The TwoTrees 3 mm basswood plywood options are one sheet family to evaluate for a wooden tag. Match the selected variant’s construction, coating and adhesive to the intended laser process. Choose the sheet for its documented suitability and intended appearance; the word “wood” does not identify every substance in a finished sheet.

Unknown coatings and adhesives should not enter the laser path. Trotec identifies PVC, halogen-containing materials, and specified epoxy- or phenolic-resin materials as unsuitable because laser processing can generate dangerous gases or dust. Materials not on that list are not automatically approved.
Keep the attachment materials separate during processing. Cut and mark the suitable flat tag first, then add the ribbon, cord, or bow after laser work is complete and the machine is off.
Judge One Finished Tag on Its Package
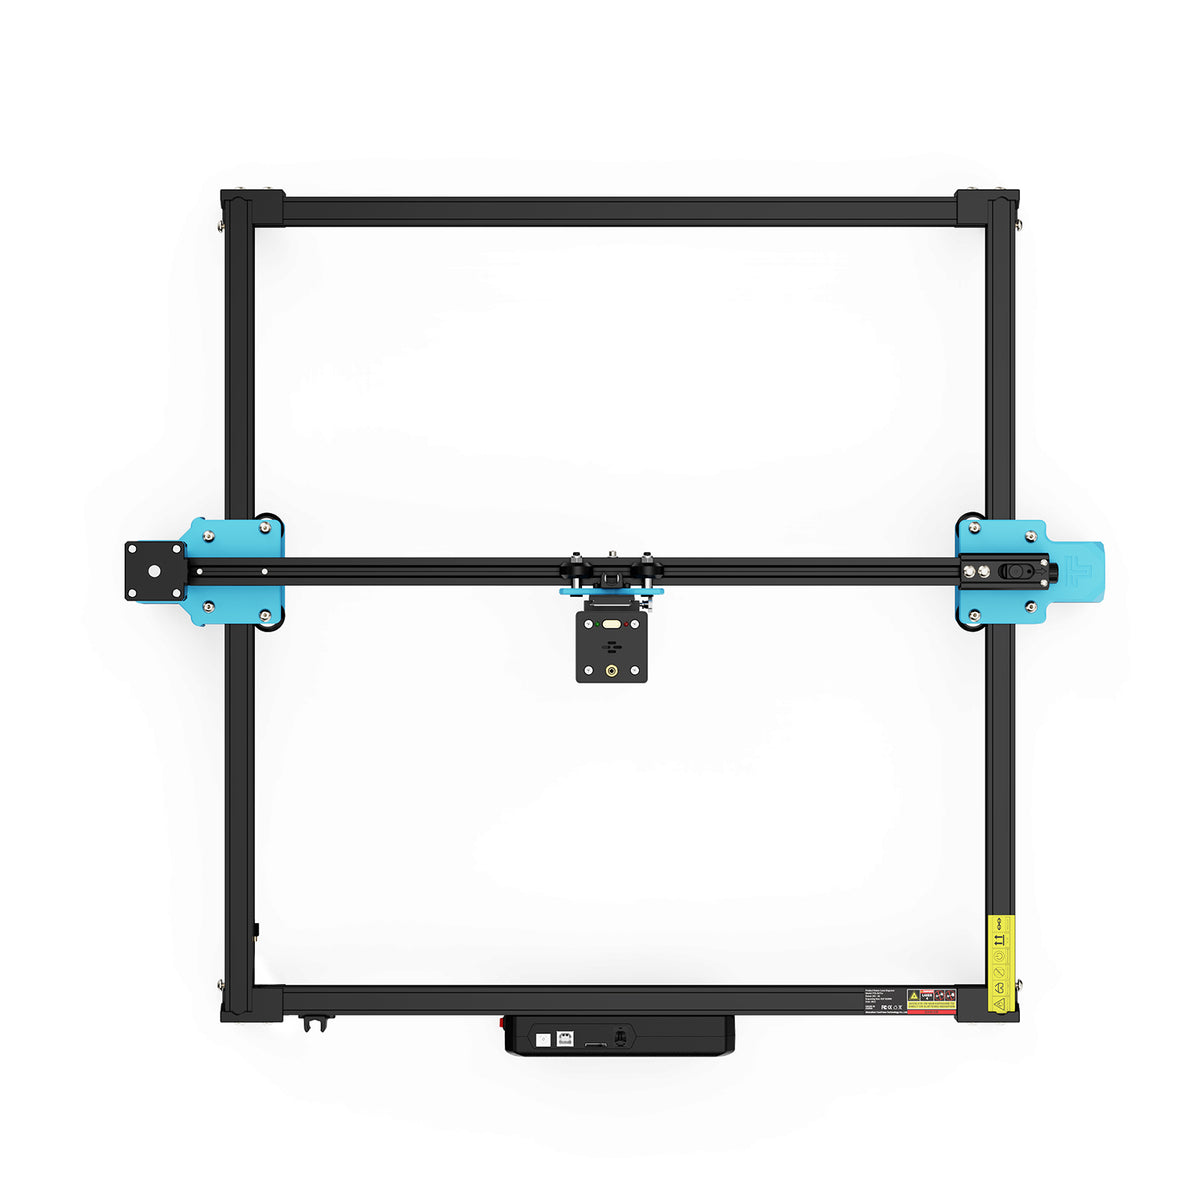
When mapping the design to a laser engraving machine, assign the outside contour, attachment opening, decorative cuts, and surface marks deliberately. The TwoTrees TTS-20 Pro laser engraver is a platform to evaluate for that flat-part workflow. Its listed engraving area is 418 × 418 mm; the actual stock, placement and process still need to suit the documented setup. A large work area does not settle how clearly one small tag will read.
Follow the exact machine and material instructions for guarding, suitable protection, extraction and fire precautions. Never leave an operating laser unattended. Make one finished sample using a documented process before repeating the design.
Thread that sample using the intended method and attach it to the actual wrapping. Check whether the name remains visible when the ribbon settles, whether the tag rests in a readable orientation, and whether the donor line and decoration still have useful space. Inspect and handle the part only with the machine stopped and isolated as directed.
For the hypothetical “To Maya” tag, a slim cord may allow the original compact layout. A folded ribbon and bow may justify an extended attachment end or a relocated name—not simply smaller lettering. The finished choice is the one in which the tie can do its job without taking over the recipient’s reading area.