
Meta Description: Aprenda a desenhar e gravar uma tábua de cortar personalizada em madeira usando uma fresadora CNC — perfeita para presentes ou decoração de casa.

Crédito da Foto: WSRI
Escolher o Tipo de Madeira e as Dimensões
O primeiro passo para fazer a sua tábua de cortar personalizada é escolher o tipo certo de madeira e as dimensões adequadas. Como as tábuas de cortar estarão em contacto com alimentos, é importante selecionar uma madeira que seja durável e segura para uso na cozinha.
Tipos de Madeira
- Ácer: Conhecido pela sua durabilidade e resistência a riscos. O ácer é uma escolha clássica para tábuas de cortar devido à sua superfície dura e propriedades seguras para alimentos.
- Cerejeira: Oferece um belo tom avermelhado que se intensifica com o tempo. A madeira de cerejeira é mais macia que o ácer, mas ainda assim durável e segura para alimentos.
- Noz: Uma madeira premium com uma cor escura e rica que confere um toque de luxo. A noz é um pouco mais delicada que o ácer, mas oferece um acabamento sofisticado.
- Bambu: Uma opção ecológica, leve mas durável. As tábuas de bambu são menos propensas a danificar facas e são ótimas para uma tábua de cortar moderna e sustentável.
Dimensões
O tamanho da sua tábua de cortar depende do uso pretendido. Uma tábua padrão mede normalmente 30 cm x 45 cm, mas pode ajustar as dimensões conforme as suas necessidades. Uma boa regra é garantir que a tábua tenha pelo menos 2,5 cm de espessura para proporcionar uma superfície sólida e durável para cortar.
Depois de escolher a madeira, corte-a ao tamanho desejado, deixando um pouco de espaço extra nas bordas para garantir material suficiente para a gravação.
Desenhar o Layout e Gravar o Texto
Agora que selecionou a madeira e as dimensões, é hora de desenhar o layout da sua tábua de cortar e decidir o que gravar.
Crédito da Foto: Minimillr
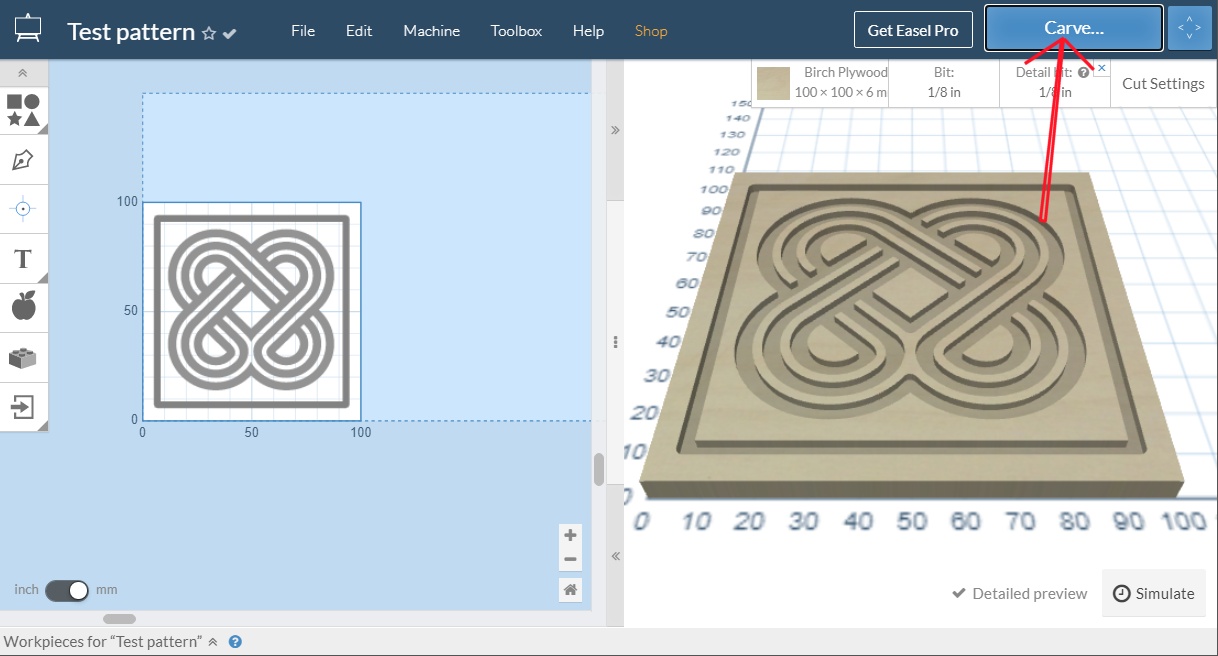
Desenhar no Software Easel CAM
O software Easel CAM é uma ferramenta fácil de usar, baseada no navegador, que ajuda a criar os seus desenhos e gerar o código G necessário para a fresagem CNC. Eis como começar:
- Iniciar um Novo Projeto: Abra o Easel e crie um novo projeto com as dimensões da sua tábua de cortar. Pode inserir o tamanho exato da sua tábua na janela de design.
- Adicionar uma Moldura ou Elementos de Design: Para criar um aspeto polido, comece por adicionar uma moldura à volta da borda da tábua. Pode usar formas geométricas como retângulos ou até criar designs mais elaborados como ramos ou padrões florais.
- Gravar Texto: Personalizar a sua tábua com nomes, datas ou citações é fácil com a ferramenta de texto do Easel. Escolha uma fonte que complemente o seu design, ajuste o tamanho e posicione o texto onde deseja gravar (por exemplo, centro, topo ou base).
- Adicionar Gráficos Personalizados: Se quiser incluir um logótipo, brasão de família ou gráfico personalizado, carregue a imagem para o Easel. O software permite converter a imagem em caminhos vetoriais, que podem depois ser gravados na tábua.
- Pré-visualizar o Design: Antes de avançar, faça sempre uma pré-visualização do design no Easel para garantir que tudo encaixa e tem o aspeto pretendido.
Configurar a Fresadora CNC para o Corte
Depois de desenhar a sua tábua no Easel, é hora de configurar a sua fresadora CNC para o corte. Aqui está um guia passo a passo de como fazer isso:
- Fixar a Madeira: Coloque a madeira na mesa da fresadora CNC e fixe-a usando grampos ou uma mesa de vácuo. Certifique-se de que a madeira está plana e não se move durante o processo de corte.
- Selecionar a Fresa Correta: Para gravação, uma fresa em V ou uma fresa de ponta esférica funciona bem para designs intrincados, enquanto uma fresa de topo plano é ideal para cortar o perímetro. Escolha o tamanho da fresa com base no nível de detalhe que deseja na gravação.
- Definir o Ponto Zero do Eixo Z: Este passo é crucial para garantir uma gravação precisa. Use um pedaço de papel ou um calibrador automático para definir o eixo Z, para que a fresadora saiba onde começar a gravar.
- Carregar o Código G: Exporte o seu design do Easel como um ficheiro de código G e carregue-o na sua fresadora CNC. O ficheiro de código G contém as instruções que a máquina deve seguir, como movimentos e velocidades de corte.
- Teste de Funcionamento: Faça sempre uma simulação sem corte antes de iniciar o processo real. Isto garante que a máquina está a seguir o caminho correto e que não há problemas com o seu design.

Crédito da Foto: Ethan Chlebowski no Youtube
Acabamento e Selagem da Tábua de Cortar
Depois de a sua fresadora CNC terminar de cortar e gravar o design, o próximo passo é fazer o acabamento e selar a sua tábua de cortar. Um acabamento adequado é essencial para proteger a madeira e dar-lhe uma superfície lisa e polida.
Lixagem
- Lixagem: Comece por lixar as bordas e a superfície da tábua. Use uma lixa grossa (como 120) para remover quaisquer irregularidades, depois passe para uma lixa mais fina (como 220) para obter uma superfície lisa e polida.
- Arredondar Bordas: Se desejar, pode arredondar as bordas da tábua usando uma fresadora com uma fresa de arredondamento para lhe dar um aspeto mais suave e profissional.
Selagem
- Óleo ou Cera: Após a lixagem, aplique um óleo mineral seguro para alimentos ou acabamento de cera de abelha na tábua. Isto não só protege a madeira como também realça a sua cor natural. Aplique o óleo com um pano limpo, deixe absorver e limpe o excesso.
- Deixar Curar: Deixe a tábua curar durante 24 horas antes de a usar. Isto garante que o óleo ou a cera penetrou completamente na madeira e oferece a melhor proteção.
Personalizar com Nomes, Logótipos ou Citações
Adicionar personalização à sua tábua torna-a única e especial, seja para presente ou peça decorativa na sua cozinha.
Gravar Nomes e Datas
Use a ferramenta de texto do Easel para gravar nomes, datas de casamento ou apelidos familiares. Pode colocar este texto no centro, nas bordas ou num canto, conforme as suas preferências de design. Personalizar a tábua com informações significativas torna-a um presente perfeito para casamentos, aniversários ou inaugurações de casa.
Adicionar Logótipos ou Símbolos
Para um design mais sofisticado, considere adicionar um logótipo, brasão de família ou gráfico personalizado. O Easel permite carregar imagens e convertê-las em caminhos de gravação. Depois de adicionar o logótipo ao seu design, a fresadora CNC irá gravá-lo com precisão na tábua.
Citações Inspiradoras
Para um toque decorativo na cozinha, adicione uma citação inspiradora ou o seu ditado culinário favorito. Seja “Bom Apetite” ou “Cozinhe com amor”, adicionar uma citação pode tornar a sua tábua funcional e inspiradora.
Pronto para começar o seu projeto de tábua de cortar personalizada? Explore a nossa seleção de fresadoras CNC e fresas da TwoTrees e comece a criar as suas peças de cozinha personalizadas hoje mesmo!


