Put the main decoration on a display face and preserve the boardmaker’s designated food-preparation surface. For laser engraved cutting boards, deciding which face serves which purpose comes before centering a name or choosing a font. A plain reverse is only an alternative working face if the board’s construction and instructions support that use.
This makes the intended gift the first design decision. A hanging keepsake can devote its visible face to a portrait and dedication. A board meant for regular kitchen work needs its functional surface preserved, and may need a separate display face—or a different object for the decoration. The same outline does not make those gifts interchangeable.
Choose the face from the actual board
Look at both faces and the edges before making the artwork. Feet can establish an underside. A juice channel or recessed area can establish a top. A handle, bevel or shaped edge can affect how the board rests or hangs. These features matter because they may prevent an otherwise attractive face from doing the job you intend for it.
Suppose a hypothetical Christmas gift is a working board with feet underneath and a juice groove on top. Putting decoration on the top and telling the recipient to turn it over does not resolve the design: the feet now face upward, and the reverse may never have been intended for food preparation. For that gift, preserve the designated working surface and consider a suitable separate keepsake or an alternative blank whose maker permits the intended arrangement.
For a second hypothetical recipient who wants a wall display, the decorated face can be the principal face from the start. The result should be presented as a decorative keepsake. Epilog’s cutting-board engraving project recommends using the engraved face for decoration only, without food or food preparation on it. That is a useful placement boundary; it does not certify a different board or its reverse.
There is no requirement to fit both functions into one object. Choosing a display-only board or a separate plaque can give a large illustration room to work without taking over a surface intended for cutting.
Compose for the way the gift will be displayed
Establish “up” with the actual display arrangement. A handled board hanging vertically gives the artwork a different frame from a wide board resting on a stand. In the hanging version, the handle and hole already draw the eye upward; a dedication can sit below them while the main illustration occupies the broader body. In a wide landscape arrangement, a horizontal composition may use the face more naturally. These are layout choices, not instructions to rotate every design to match the longest edge.

Place the board in its intended stand or against its hanging arrangement before committing the design. A stand’s front lip may hide a date or the lower line of a quotation. A hanging hole interrupts the usable face even when the overall silhouette looks symmetrical. Move the composition into the area that will remain visible rather than treating the board’s outer rectangle as the artwork boundary.
Give the principal element a clear role. If a family illustration is the reason for the gift, let the dedication support it instead of competing at the same scale. If a short name is the subject, surrounding motifs can provide a frame without filling every available corner. A juice groove, handle opening or shaped border should remain a real physical feature in the layout, rather than something the artwork appears to run through accidentally.
Judge readability in the intended display position. A long recipe or quotation may look attractive when enlarged on a screen and become difficult to read across a kitchen. A shorter excerpt, a larger keepsake or a separate printed accompaniment can preserve the message better than shrinking every line. There is no universal minimum lettering size: type style, contrast, the actual process and viewing distance all affect the result.
Move an accepted layout to the identified material
Three decisions remain separate: where the decoration looks right, whether the board can be processed with the chosen laser, and what the completed object is intended to contact. A successful mark answers only the processing question for that attempt; it does not approve a food-preparation or serving surface.
Identify the actual wood, adhesives, coatings and finish before laser processing. Trotec’s material guidance excludes certain compositions that can release hazardous substances. An attractive wood appearance does not establish the composition of a finished blank, and a description such as “food-grade” for one finish ingredient does not approve the completed, modified board. Use material information applicable to the actual stock and process.
Once the blank and intended process are suitable, a machine such as the TwoTrees TTS-20 Pro laser engraver can be evaluated against the physical setup. Check the complete board and support arrangement, including a projecting handle and the required focus height. The dimensions of the graphic alone do not establish that the workpiece fits.
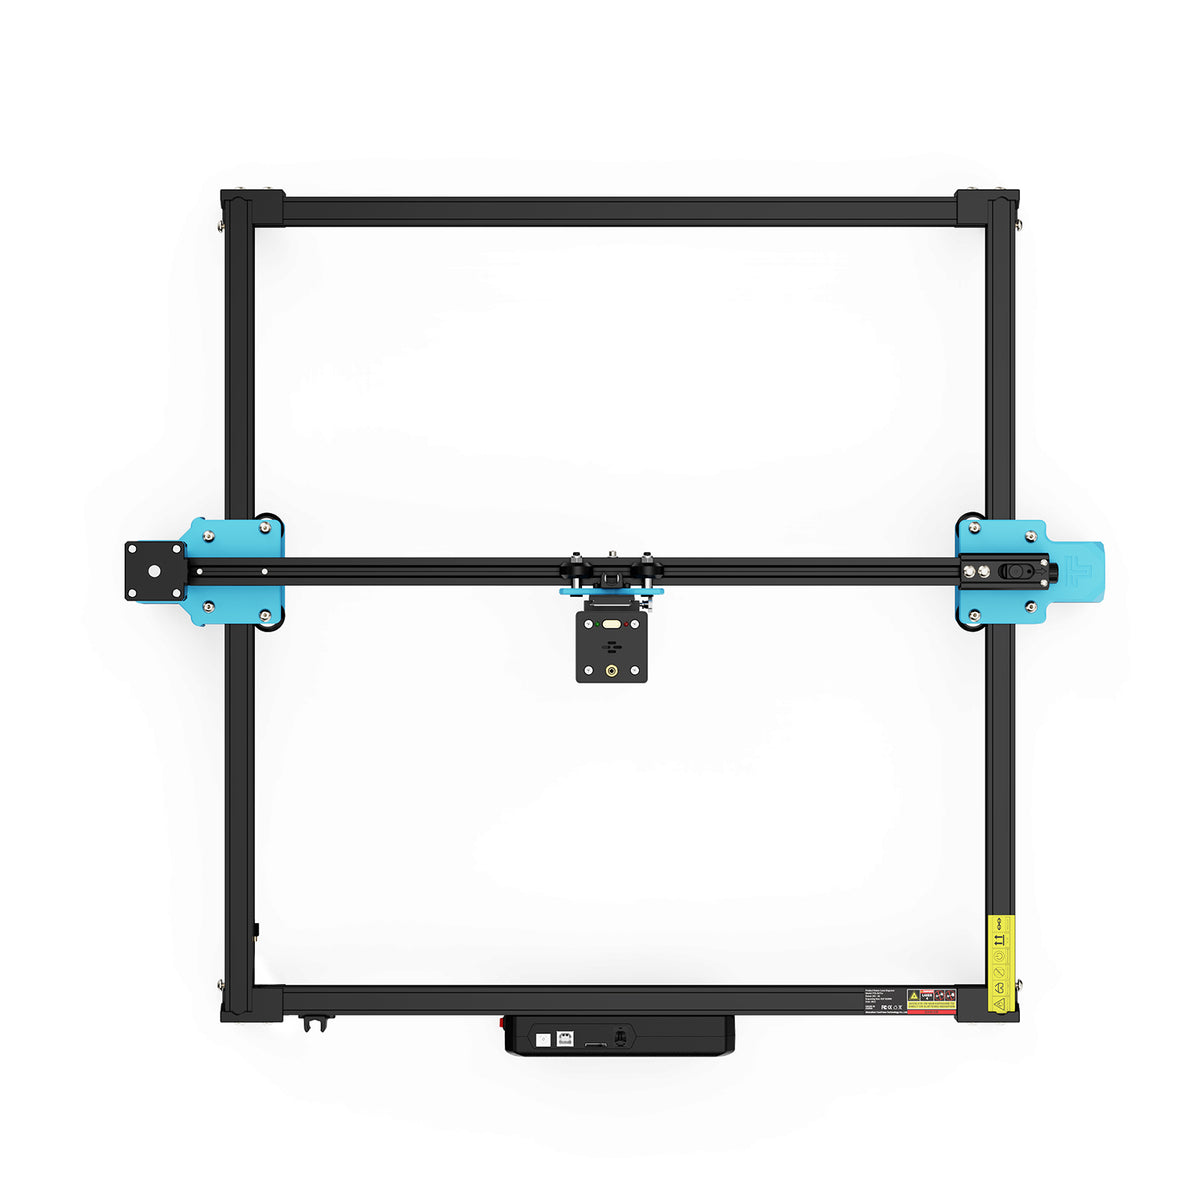
A raised rim, feet or uneven support can change the height of the face relative to the machine. Follow the exact machine and material instructions for support and focus rather than transferring settings from a different laser tutorial. Epilog’s example uses a different machine; its power and speed settings are not a recipe for this platform.
Use the required protective setup and extraction, keep the laser attended, and pause and isolate it as instructed before handling the work. Clean or finish the object only according to instructions applicable to the board, the products used and its intended purpose. There is no general oil, wax or sealing step that makes every engraving suitable for food contact.
Make the intended use clear when giving it
A decorated face described as display only should not also be presented as a serving surface. Serving still puts food in contact with that face, even if nobody cuts on it. Nor does moving an engraving into a corner or onto a handle automatically settle the finished object’s suitability.
If the actual board supports a designated working face and a separate decorative face, pass along accurate use and care instructions consistent with its maker’s directions. If it is a hanging keepsake, present it for that purpose. The recipient should not have to infer the intended use from which side happens to carry the artwork.
For the hypothetical kitchen board with feet, the functional construction governs the choice of gift and face. For the hypothetical wall keepsake, the hanging orientation governs the composition. Settle that choice before personalizing the blank: the artwork then belongs to a physical object with a clear purpose, rather than forcing the object to accommodate a design made in isolation.