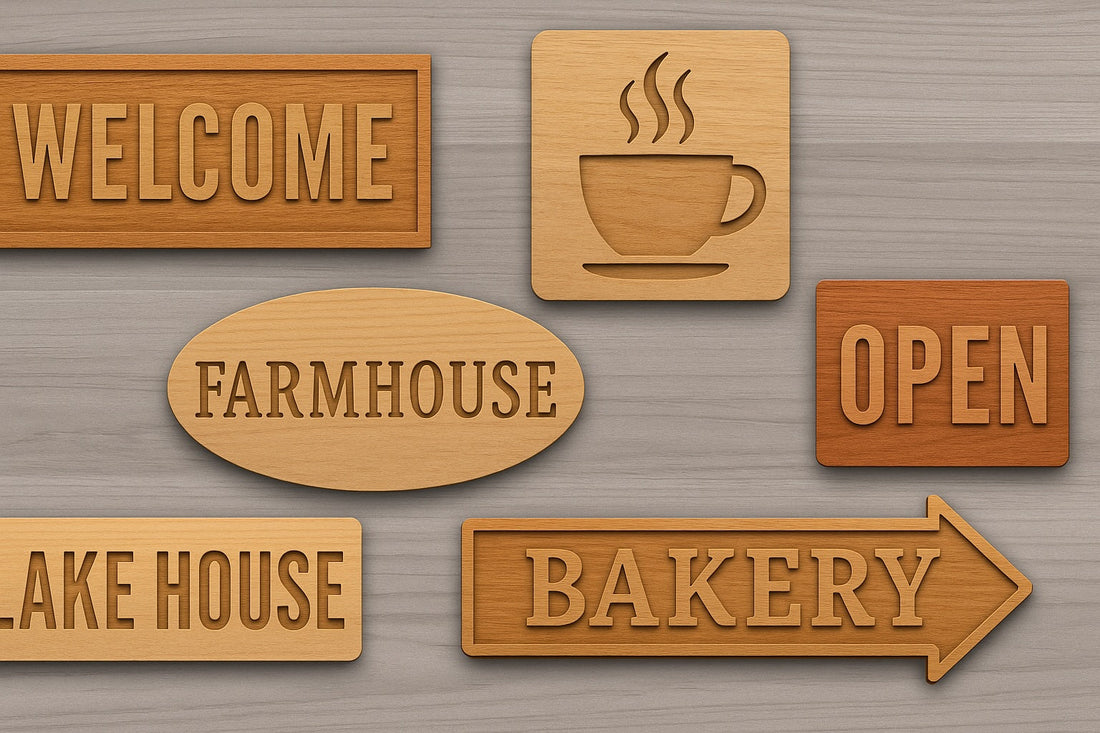
Why CNC Is Perfect for Wood Signs
- Precision & repeatability: Crisp lettering, consistent spacing, and identical re-orders.
- Design freedom: V-carved scripts, raised letters, inlays, 3D accents, and textured backgrounds.
- Scale on demand: Make one personalized gift—or batch 50 for an event or storefront.
- Clean workflow: CAD → CAM → Carve → Finish. Clear steps reduce mistakes and rework.
Recommended machines for sign work:
- TTC-450 Pro — Hobbyist-friendly footprint, ideal for door plaques and 12–18" décor signs.
- TTC-6050 — Larger work area for statement pieces, business signs, and furniture-grade panels.
- TTC-H40 / TTC-H80 — Prosumer rigidity and throughput for small-shop production.
Step 1: Design Your Wood Sign
Your design sets the tone for everything that follows. Clarity wins: readable fonts, adequate letter height, and strong contrast are non-negotiable.
Choose Your Software
- Carveco Maker / VCarve Desktop: Purpose-built for sign-making with V-carve toolpaths, vectors, and nesting.
- Easel: Simple web-based design for straightforward signs and small batches.
- Fusion 360: Powerful CAD/CAM if you already model in 3D or want parametric control.
Layout Fundamentals for Readability
- Font selection: Use bold, legible fonts for primary text. Pair scripts sparingly for accents.
- Letter height: Keep most letters ≥ 20–25 mm (≈0.8–1") for comfortable reading at typical viewing distance.
- Kerning & spacing: Tighten or loosen to avoid fragile islands or cramped interiors (especially with V-carve).
- Hierarchy: One focal line (name / business) + secondary lines (established date, tagline).
Design Approaches
- V-Carved Lettering: Classic engraved look. The tool widens with depth; ideal for serif and script fonts.
- Raised Letters: Pocket the background, leave letters proud for high-contrast paint/finish.
- Inlays: Cut letters from contrasting wood or acrylic and glue into a recessed pocket.
- Textured Backgrounds: Add a shallow texture toolpath behind lettering to elevate perceived value.
File Prep
- Use vectors (SVG/DXF) for clean toolpaths and scaling.
- Convert strokes to outlines to prevent width surprises when importing.
- Join open vectors and remove duplicates to avoid double-cutting.
Step 2: Carve the Sign
Success on the machine comes from good workholding, the right bit, sensible toolpaths, and dry runs before you cut expensive stock.
Stock Prep & Workholding
- Flatten & square: Plane/sand one face flat; square edges if frame alignment matters.
- Spoilboard: Use a sacrificial board beneath to protect the table and allow full-depth cutting.
- Workholding: Clamps, low-profile cam clamps, brad nails + CA glue to tape, or a vacuum table for production.
- Zeroing: Set X/Y off a known corner; Z from the top surface for consistent depth control.
Choose the Right Bit for the Job
- V-Bits (60° / 90°): Engraved lettering, fine serifs, sign borders.
- Flat End Mills (1/8"–1/4"): Pocketing backgrounds, clearing recesses for raised letters or inlays.
- Ball Nose (⅛" / ¼"): Soft rounding, textures, 3D accents.
- Downcut Spirals: Clean top edges on veneer/ply; pair with a final shallow pass for crispness.
Core Toolpaths (Sign-Making Toolkit)
- V-Carve: Depth varies to match vector width; produces sharp detail fast.
- Pocketing: Clear background or recesses for raised letters/inlays; finish with a light spring pass.
- Profile Cutout: Cut the sign to final shape; add tabs to prevent last-second movement.
- Texture / Hatch: Light ball-nose pass adds premium visual depth behind text.
Dry Run & Sanity Checks
- Simulate toolpaths in CAM to catch overcuts, missed vectors, or tool collisions.
- Run an “air cut” above the stock for first jobs or complex signs.
- Start conservative on feeds, then increase as chips look healthy and cut quality holds.
Machine Picks by Sign Size
- Door plaques / shelf décor (≤ 18"): TTC-450 Pro.
- Statement pieces / storefronts: TTC-6050.
- Production batches / hardwoods: TTC-H40 or TTC-H80.
Step 3: Finish Like a Pro
The finish is what customers notice first. Good sanding and smart color choices elevate any design.
Surface Prep
- De-burr & sand: Knock down raised grain; avoid over-sanding delicate V-carved details.
- Tack cloth / air: Remove dust before any finish or paint hits the surface.
Three Reliable Finishing Workflows
-
Natural + Clear
- Sand to 180–220 grit.
- Apply oil (Danish, tung) or wipe-on poly; multiple thin coats look richer than one heavy coat.
- Buff with a gray/white pad between coats for silky sheen.
-
Paint-Fill Letters
- Seal the raw wood first (shellac or sanding sealer) to reduce bleed.
- Brush or syringe paint into letters; wipe excess while wet with a flat card.
- Final clear coat after full cure for protection.
-
Mask → Paint → Peel
- Apply masking film (or painter’s tape) before carving.
- Carve through the mask; spray or brush color into the engraved areas.
- Peel mask to reveal crisp edges; topcoat for durability.
Epoxy Inlay (High-Contrast Premium Look)
- Pocket the letters/background ~2–3 mm deep with a flat end mill.
- Seal the pocket edges to reduce dye bleeding.
- Mix tinted epoxy; pour slightly proud of the surface.
- After cure, surface with a fly cutter or sander; clear coat to finish.
Outdoor Signs
- Choose rot-resistant woods (cedar, teak) or exterior-grade plywood.
- Prime + exterior paint, or marine spar urethane for clear finishes.
- Seal edges and any exposed end grain meticulously.
- Use stainless hardware for hanging; consider French cleats for stability.
Materials & Bits Cheat Sheet
| Material | Use Case | Notes | Typical Bits |
|---|---|---|---|
| Pine / Softwoods | Budget décor, rustic signs | Prone to tear-out; seal before paint-fill | 60°/90° V-bit, 1/4" downcut, 1/8" flat |
| Maple / Walnut / Cherry | Premium gifts, business signs | Holds fine detail; finishes beautifully | 60° V-bit, 1/8" downcut, 1/8" ball |
| Birch Plywood / Baltic Birch | Stable panels, paint-fill signs | Minimal movement; clean paint edges with mask | 90° V-bit, 1/4" downcut, 1/8" flat |
| MDF | Painted signs, textured backgrounds | Dusty; always seal edges before paint | 90° V-bit, 1/4" flat, 1/8" flat |

Project Ideas (Beginner → Advanced)
Beginner
- Family name plaque with simple border (V-carve only).
- House number sign with bold sans-serif font.
- Small shelf décor with quote in two font styles (primary + accent).
Intermediate
- Raised-letter sign with pocketed background and paint-fill.
- Business sign with logo vector and textured hatch background.
- Directional wedding/event signs with arrows and icons.
Advanced
- Wood inlay letters (walnut into maple) with flush surfacing and oil finish.
- Mixed-media sign: wood base, epoxy river accent, engraved metal nameplate.
- 3D-relief accent blended with V-carved typography.
Tips for Selling CNC Wood Signs
Pricing Framework
- Materials: board + finish + consumables (mask, epoxy, sandpaper).
- Machine time: carve minutes × shop rate (include setup time).
- Labor: design, sanding, finishing, packaging.
- Overhead & margin: blades/bits wear, utilities, platform fees.
Packaging & Presentation
- Include care card and hanging hardware (sawtooth, keyhole, or French cleat).
- Use corner protectors and wrap to avoid finish scuffs in transit.
Personalization Upsells
- Names, dates, coordinates, custom color schemes.
- Premium wood upgrade or epoxy inlay option.
- Outdoor-grade finish upgrade (marine spar urethane).
Scaling up? The TTC-6050 and TTC-H40/H80 offer the work area and rigidity for batching larger orders with consistent quality.
Troubleshooting Common Issues
Fuzzy edges / tear-out
Use a downcut bit for top-edge cleanliness, climb vs. conventional passes as needed, and ensure sharp tooling. Seal softwoods lightly before carving detailed scripts.
Paint bleed into grain
Seal engraved areas first (shellac/sanding sealer), use masking, and avoid over-thinning paints. Sand lightly and clear coat after full cure.
Letters too thin / fragile
Increase stroke weight or switch from raised letters to V-carved. Add fillets to inside corners to reduce chip-out risk.
Inconsistent depth
Surface your spoilboard, verify stock flatness, tram the spindle, and re-check Z-zero after tool changes.
Visible tool marks
Add a light spring pass, reduce stepover, increase RPM slightly, or switch to a sharper finisher. Finish-sand with a flat block to keep faces true.
Quick FAQ
What size bit should I use for typical sign lettering?
V-bits (60° or 90°) cover most lettering. Use 60° for finer detail and 90° for broader, bolder characters.
What wood species are best for crisp details?
Maple and walnut hold edges well and finish beautifully. Baltic birch is a stable, economical panel choice for paint-filled signs.
Do I need a dust shoe?
Highly recommended. It keeps edges cleaner, reduces rework, and protects your workshop and lungs. Pair with a shop vac or dust collector.
How do I hang a heavy sign safely?
Use a French cleat or two-point keyhole hardware anchored into studs. For outdoor installs, use stainless fasteners and weatherproof sealants.
Ready to start carving? Pick the CNC that matches your space and goals:
- TTC-450 Pro — compact, budget-friendly sign maker.
- TTC-6050 — extra capacity for statement pieces and batching.
- TTC-H40 / TTC-H80 — prosumer performance for production-grade workflows.


